Before editing any file on your website, no matter the editing method, always, and this is important, ALWAYS, take a backup of your site before making any changes to anything. While there are many ways to take a backup of a WordPress site, we have used UpdraftPlus (the free version handles one-off backups just fine). It is available from the WordPress repository.
Utilizing the free and open source solutions FileZilla and Notepad++ are all you really need to effectively edit a PHP file. If something goes wrong, it is easy to undo the changes. If you want a full-featured PHP editor, check out Sublime Text (sublimetext.com). It’s not free, although it has a reasonable cost. No, we do not earn any commission if you click that link.
You can get FileZilla from here. FileZilla helps you connect to the server where your WordPress site is hosted. There is no need to provide any configuration details for FileZilla, as there are tons of resources already out there for that purpose. FileZilla simply retrieves the file you want to edit from your server and stores it in a temporary location on your computer.
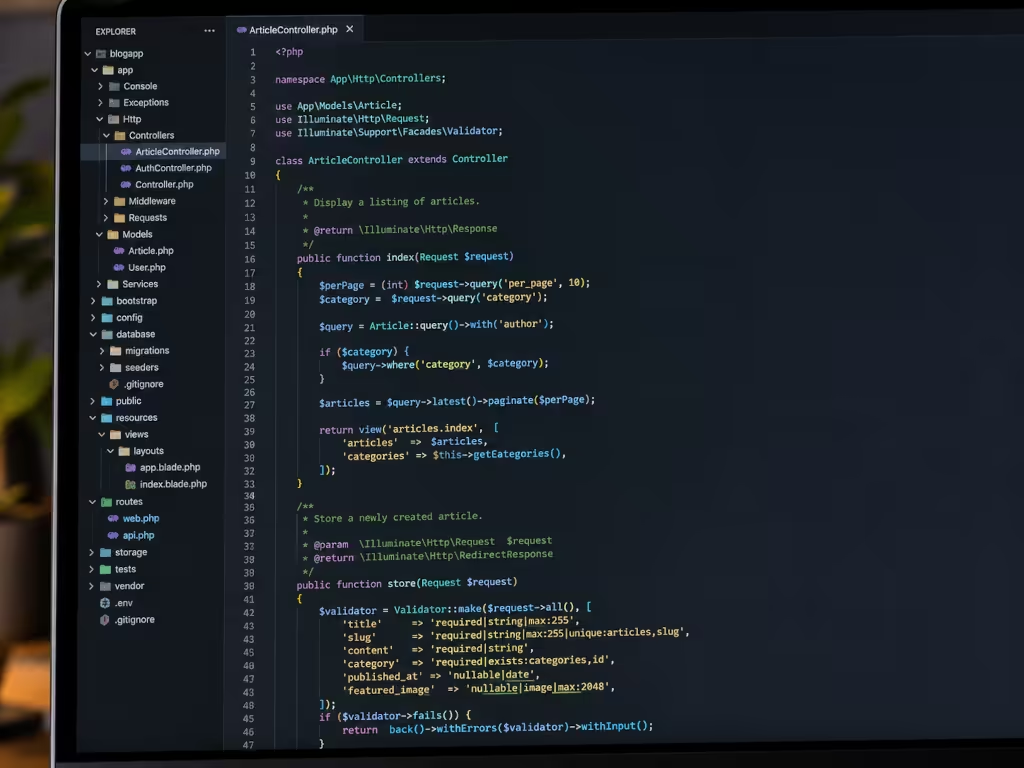
After you have downloaded the PHP file you want to edit, you can open it in Notepad++ (available here). The nice thing about editing PHP files in Notepad++, besides it being free of course, is that Notepad++ allows you to collapse the sections you are not going to edit to reduce the visible code.
Again, there is no need to go into how to use Notepad++ or how to edit the PHP file you want to edit, as those resources already exist out on the web. The only point being made with this post is ease of editing and also the ease of undoing any mistakes.
Once you have edited the PHP file in Notepad++, simply save the file by using the keyboard shortcut Ctrl+S, or by clicking the ‘Save’ icon. Do not close Notepad++ (very important!) yet. Go back to FileZilla, and you should see a prompt indicating the file has changed, and asking you if you want to upload this file back to the server. Click ‘Yes’ and ensure the file uploads successfully.
Now, check your site. Everything working okay? Great! Not working great? No worries! Head back over to Notepad++ and undo all of the changes you made. You can either use the Edit › Undo button, or the keyboard shortcut Ctrl+Z, to step back through all the changes you made to undo them.
Once there are no more changes to undo, save the file, head back over to FileZilla, and upload the file with all the changes removed back to the server. Check your site again, and all should be fine. On the outside chance things really went south, simply restore that backup you took before starting. You, uh, did take a backup, didn’t you?